Skip to content
Quantil Documentation
Add New Transport
- In the left pane of the HDT portal, click Transports.
- At the top-right of the Transports page, click the + Add New Transport button.
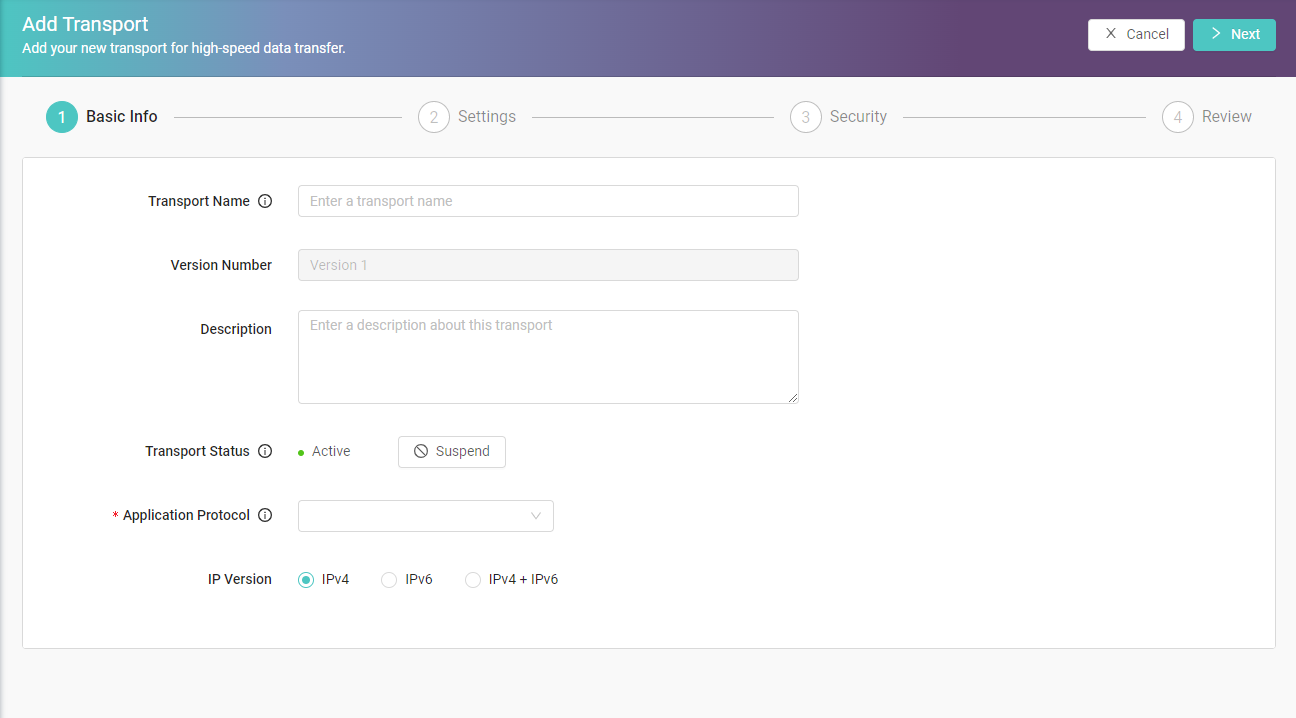
- Fill in the fields of the Basic Info configurations. Required fields are denoted by an asterisk (*). When completed, click > Next at the top-right of the wizard.
- Fill in the fields of the Settings configurations. Required fields are denoted by an asterisk (*). When completed, click > Next at the top-right of the wizard.
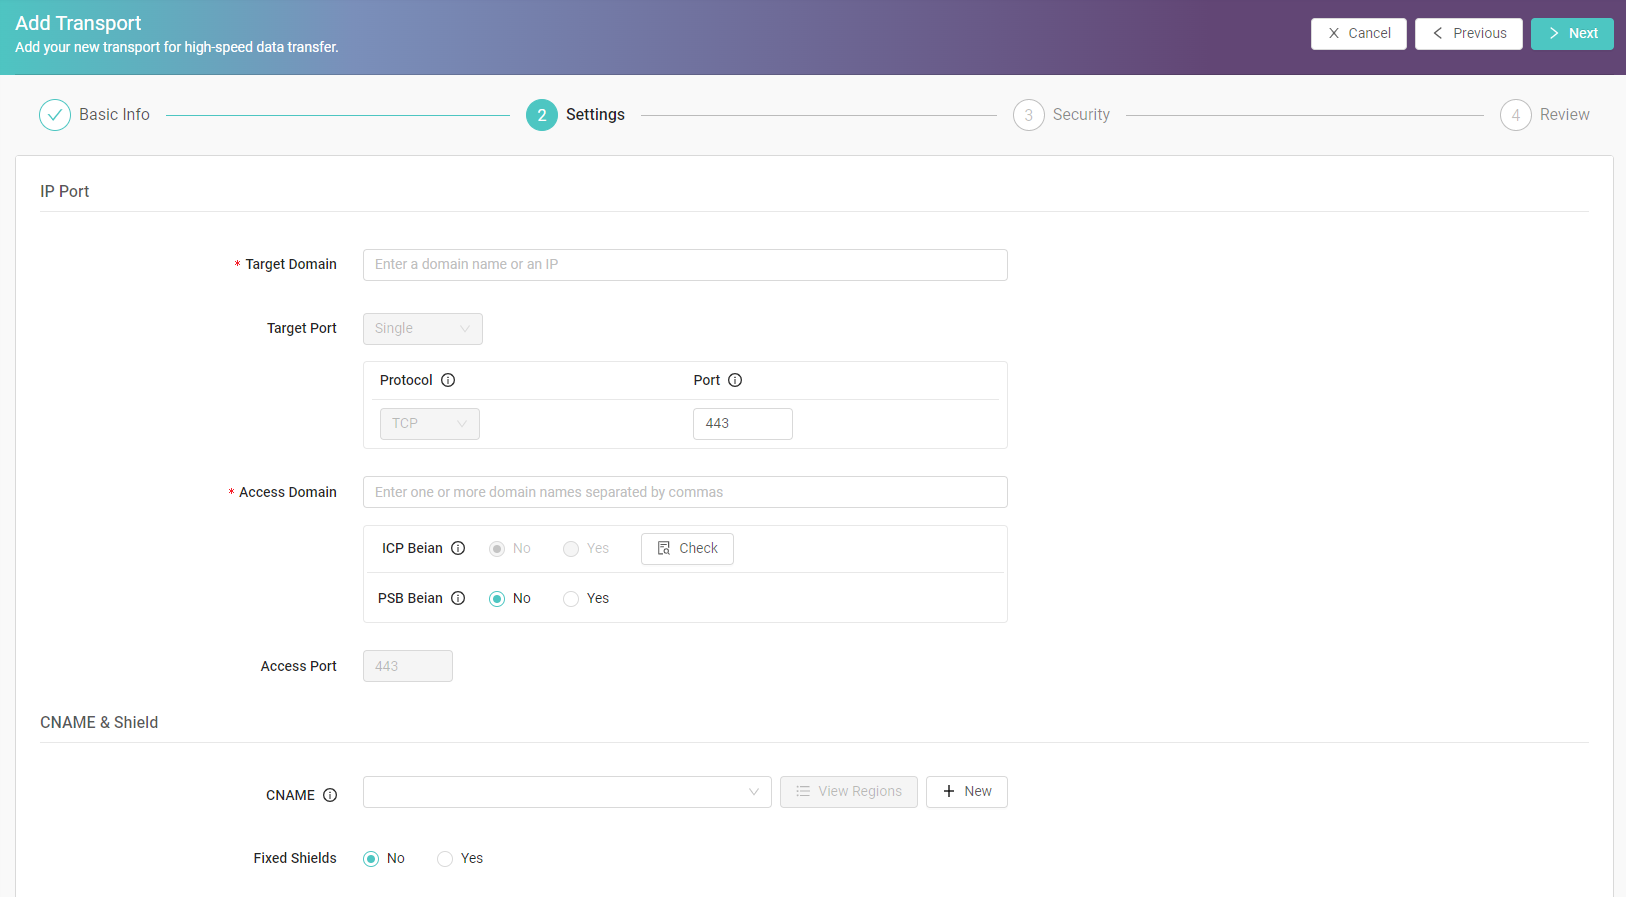
| Fields | Description |
|---|---|
| Fixed Shields | If you select "Yes", the shield servers (HDT servers that connect to your origin servers) will be only in the region you select, and you can view the shield servers' IP list after the transport is successfully created. |
-
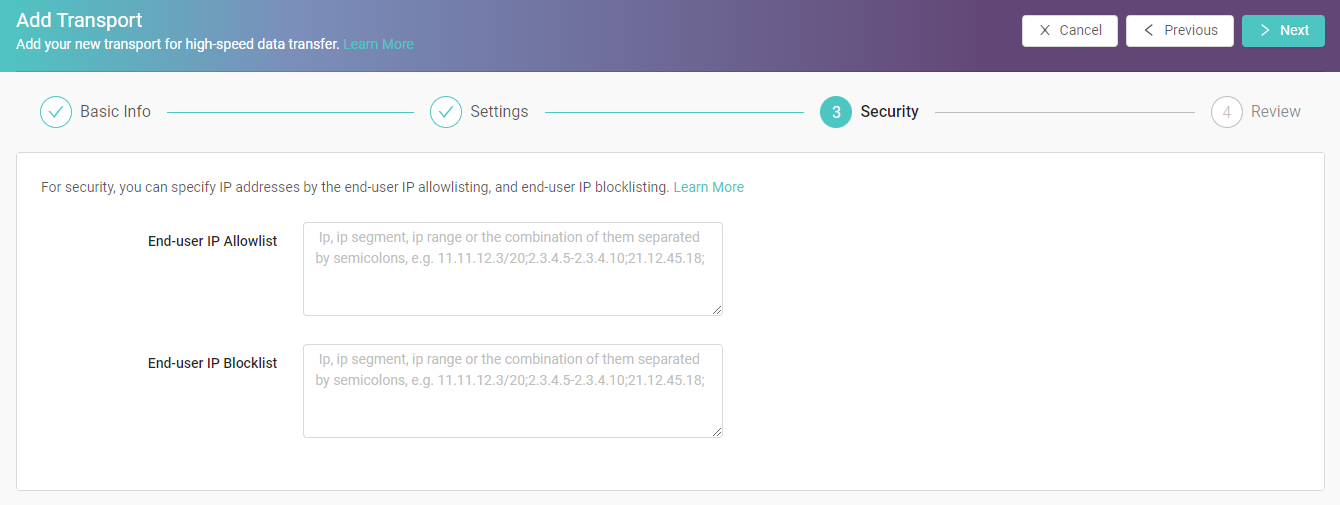
Fill in the fields of the Security configurations. When completed, click > Next at the top-right of the wizard.
-
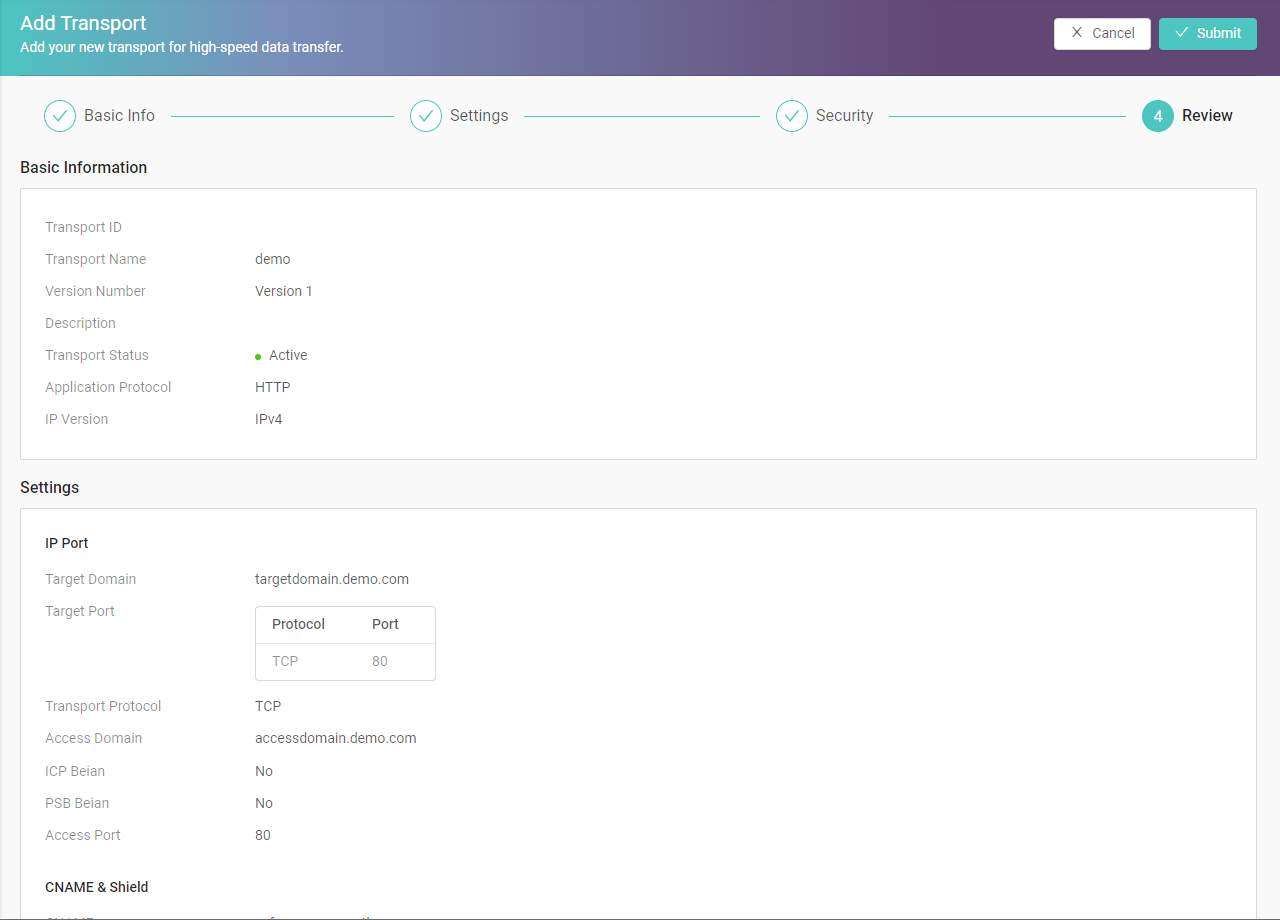
Review your inputs from the previous steps. If you need to change them, click Previous to return to the appropriate step, make your changes, and then click Next until you return to the Review step.
-
When you are satisfied with your inputs, click Save.
Direct the Traffic to HDT platform
After the transport is successfully created, add a CNAME record on your DNS server to point your service hostname(s) to the newly created HDT CNAME.